- Make ID cards:
- NEW! ID Maker
- First time printing?
- Resources
-
New customer?
Create Account
Free shipping over $19
Free shipping over $19
Products
Help
Make Cards
Account
How To Make ID - Die Cutter Tutorial
Die Cutter Tutorial - Video
What You'll Need
- An inkjet or laser printer
- A Hot Laminator
- A Die Cutter
- Carrier
- Teslin Synthetic Paper
- 2 Full Sheet Laminates
- A Graphics Editing Program (Microsoft Word, Apple Pages, GIMP (Free), Adobe Photoshop, Adobe Illustrator, Corel Draw, Etc.)
We have created an Example ID and 8 card layout template which you are free to use and modify for your own personal use. You can download them from the Downloads Section of the Learning Center. We will be using this Example ID and Layout template during the tutorial for reference.
Steps

1. First you will want to print out your ID (Printer Settings).
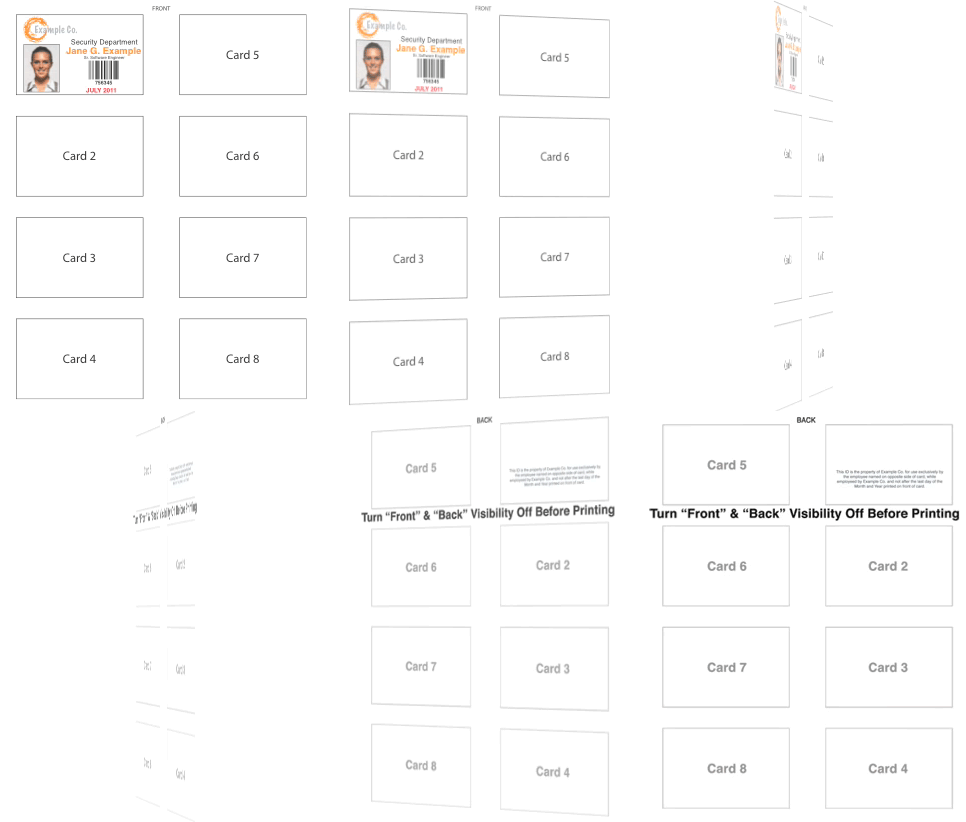
As this animation shows we have lined up the front and back of our Example ID on our 8-up layout. Fliping the Teslin Synthetic Paper as shown in the animation (from left to right, not top to bottom) will allow your printer to print in the same position on the both sides to make a quick and easy front and back for your ID.
Note: In Photoshop/GIMP you will need to disable the Layer's labeled "Front" and "Back" before printing - in Illustrator these layers automatically do not print.
2. Place the entire sheet of Teslin Synthetic Paper between two full size laminate sheets.
Now would be a good time to turn your laminator on to allow it to heat up. (If your laminator has a temperature control see your laminates product page for ideal lamination temperature). Place the entire sheet of Teslin Synthetic Paper between two full size laminate sheets being sure that the laminate's adhesive side is facing towards the Teslin sheet. (If required, cut these sheets down the middle to fit your laminator).
3. Laminate to form a solid card.
Place these into a carrier (if required), and laminate to form a solid card.
4. Punch the individual IDs from the sheet with your Heavy Duty ID Die Cutter.
Now with a full 8.5 x 11" laminated card you can punch the individual IDs from the sheet using your Heavy Duty ID Die Cutter.
If you didn't cut your sheets to laminate, then first, cut the entire sheet down the middle (vertically) to create two halves that measure approximately 4" x 11" each. Now, simply align the ID you want to cut out in the window of the die cutter and pull down on the lever (relatively quickly for a clean cut). You may need to practice a few times to get alignment right on, but you will see very quickly that it creates a great end product.
 Teslin Paper, Butterfly Pouches, Inkjet PVC Cards, Make ID Card Kits Easy

